Hey everyone,
My dad's birthday is on Tuesday. He is usually a hard person for me to find card ideas for. I saw this beer mug card idea on Pinterest and thought he might like it.
Here's the card:
I started by embossing the brown paper with a stripe embossing folder. I cut all the mug and beer pieces with my Silhouette. The happy birthday is written with Silhouette Sketch Pens. I distressed the bubbles and the "beer" pieces with tea dye distress ink. I then attached all the pieces to the card.
The inside:
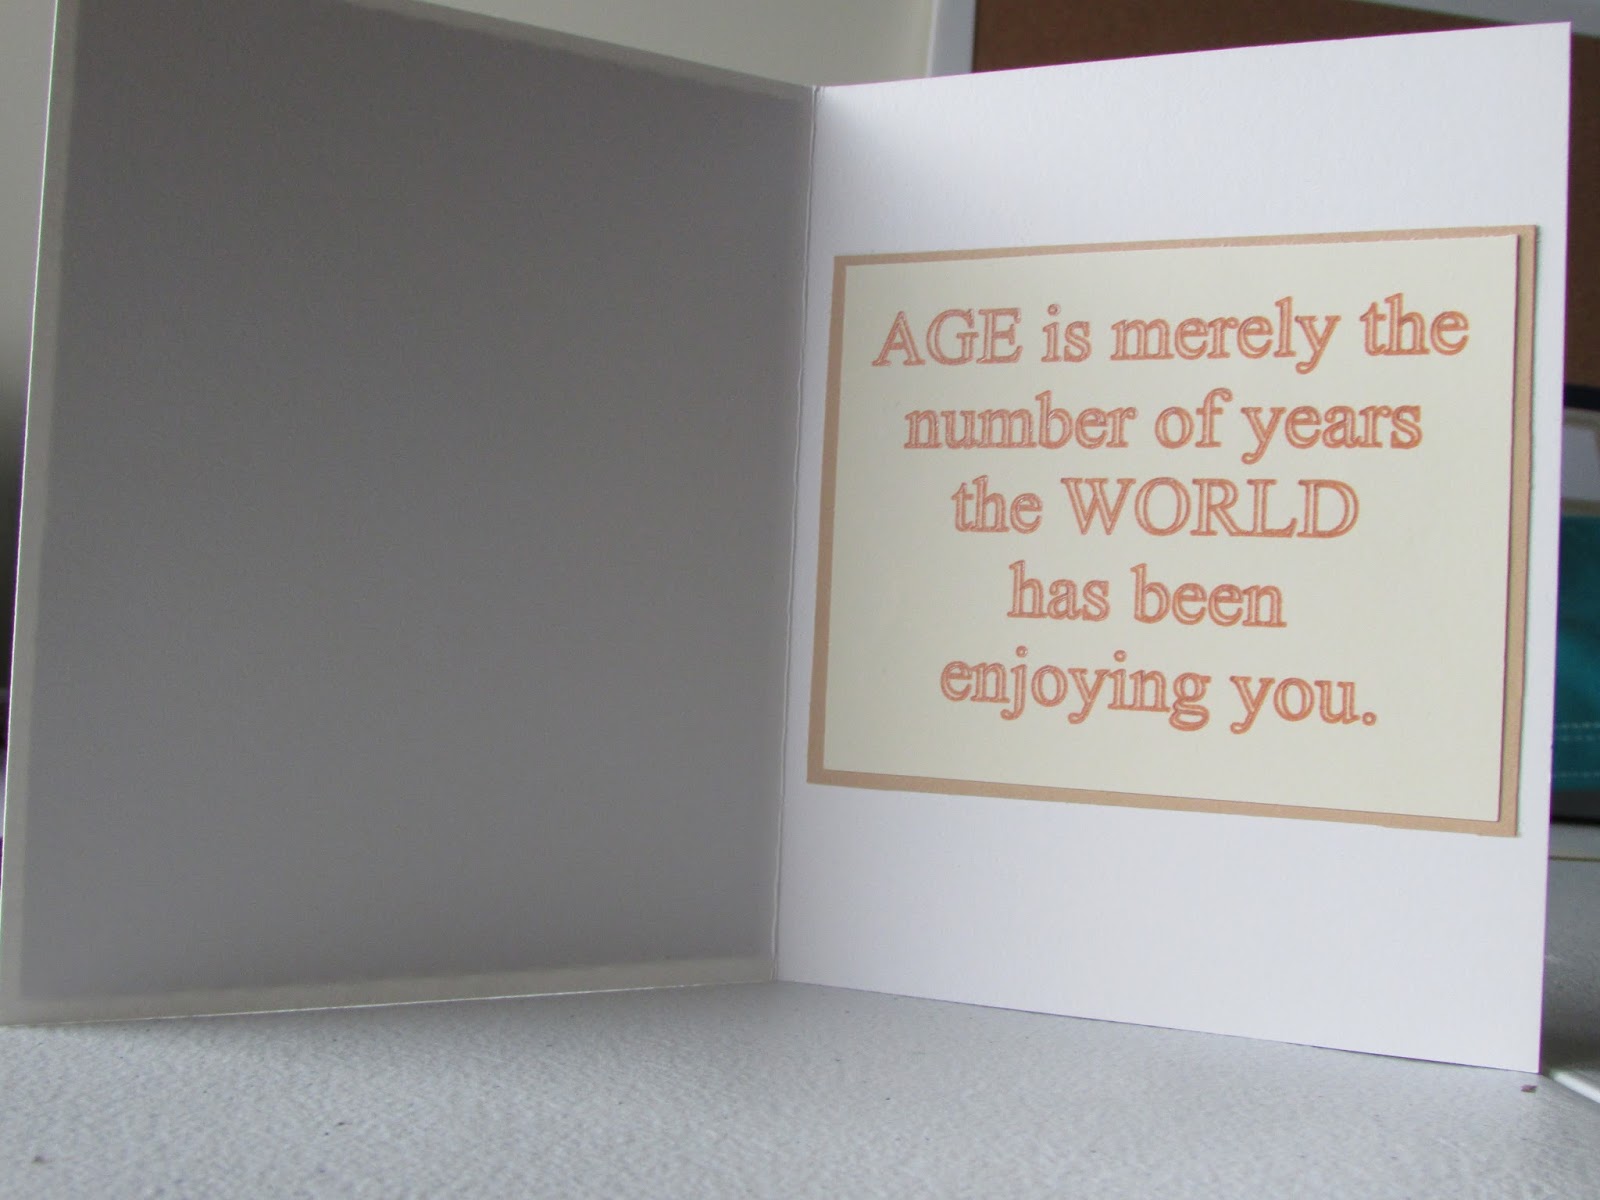
I found this saying in google images when looking for a quote for the inside of the card. My dad is turning 71 so I thought it was a great saying!!!
I am entering these challenges with this card:
Moving Along with the Times - Starts with "B"
Do-Al(1) Kreatives - For the Birthday
Sparkles Monthly - Birthday
DL. ART - Circles & Stripes
That's Crafty! Challenge - Only Cards
Lil Patch of Crafty Friends Challenge - Anything Goes
The Corrosive Challenge - Anything Goes
Crafty Friends - Anything Goes
Scrapper's Delight - Anything Goes
Polkadoodles - Anything Goes
Emerald City Crafts - Anything Goes
Simply Papercrafts - Anything Goes
Colour Crazy Challenge - Anything Goes
Little Miss Muffet Challenge - Anything Goes
Lemon Short Bread Challenge - Anything Goes
That's all! Thanks for looking!!!
~Hazel
Showing posts with label distress ink. Show all posts
Sunday, August 20, 2017
Beer Card
Labels:
age,
beer,
brown,
bubbles,
challenges,
distress,
distress ink,
embossing,
embossing folder,
enjoying,
happy birthday,
milky white,
mug,
quote,
silhouette cameo,
silhouette sketch pens,
stripes,
tan,
tea dye,
world
Sunday, July 9, 2017
Boat Card
Hey Hey,
My co-teacher's birthday is coming up. She likes quite a few things, but I had already made her a snowmobiling card, cowgirl boot with hat because she loves to line dance, and then a saloon door card. In the summer she spends a lot of time on her boat so I made her this boat card:
I started by creating the waves using the technique I found here. I used the same distress ink colors as in the link. I then made the boat using my silhouette cameo. I put acetate on the back for the windows. I used my silhouette sketch pens to write the "It's Your Birthday..." I attached the pieces to the card and then used my sketch pens for the saying on the inside as well.
The inside says:
I put the inside saying on a blue background to help match the front of the card.
I am entering these challenges:
Catch the Bug Blog - Outdoor Fun
Stinkin Inkers - Summer Heat
Card Mania - Summer Fun
Do-Al(l) Kreatives - Cool Water
Eclectic Ellapu - Seaside or Summer Colors
Scrapbook & Cardmaking Bastel-Traum.ch - Water
Delicious Doodles - Beside the Sea
Paper Minutes - By the Sea
Thanks for looking!
~Hazel
The inside says:
I put the inside saying on a blue background to help match the front of the card.
I am entering these challenges:
Catch the Bug Blog - Outdoor Fun
Stinkin Inkers - Summer Heat
Card Mania - Summer Fun
Do-Al(l) Kreatives - Cool Water
Eclectic Ellapu - Seaside or Summer Colors
Scrapbook & Cardmaking Bastel-Traum.ch - Water
Delicious Doodles - Beside the Sea
Paper Minutes - By the Sea
Thanks for looking!
~Hazel
Labels:
acetate,
birthday,
black,
blue,
boat,
challenges,
distress ink,
floating,
silhouette cameo,
sketch pens,
waves,
white
Saturday, June 17, 2017
Yellow Flower Card
Hey all,
My supervisor at work is leaving us to become our curriculum coach. So luckily we'll still see her and she will have more time with her grand daughter and less stress. She loves the color yellow as well as sunflowers.
I made her this thank you card:
I created this card by cutting out the yellow and black scalloped pieces, the "thanks", and the sunflower with my Silhouette Cameo. I cut the red piece to fit a 5X7 card base and rounded the corners. I used an embossing folder to emboss the swirls onto the yellow piece. I used a strip of pink striped decorative tape at the bottom of the embossing and a black and red piece of ribbon in the center on the decorative tape. I distressed the edges of the sunflower with wild honey distress ink, attached that to the ribbon, and added a brown button in the center. I attached all the pieces to the card base and glued the "thanks" above the embossed swirls.
I left the inside blank so my co-workers would have plenty of space to write their thanks and appreciation.
I will be entering these challenges:
Card Mania - Buttons
Creates and Makes - Anything Goes/Use Yellow
Sparkles Monthly - Embossing Wet or Dry (Dry)
Mixed Media Monthly - #34 Buttons

Thank you for looking!
Have a fun day!
~Hazel
My supervisor at work is leaving us to become our curriculum coach. So luckily we'll still see her and she will have more time with her grand daughter and less stress. She loves the color yellow as well as sunflowers.
I made her this thank you card:
I created this card by cutting out the yellow and black scalloped pieces, the "thanks", and the sunflower with my Silhouette Cameo. I cut the red piece to fit a 5X7 card base and rounded the corners. I used an embossing folder to emboss the swirls onto the yellow piece. I used a strip of pink striped decorative tape at the bottom of the embossing and a black and red piece of ribbon in the center on the decorative tape. I distressed the edges of the sunflower with wild honey distress ink, attached that to the ribbon, and added a brown button in the center. I attached all the pieces to the card base and glued the "thanks" above the embossed swirls.
I left the inside blank so my co-workers would have plenty of space to write their thanks and appreciation.
I will be entering these challenges:
Card Mania - Buttons
Creates and Makes - Anything Goes/Use Yellow
Sparkles Monthly - Embossing Wet or Dry (Dry)
Mixed Media Monthly - #34 Buttons

Thank you for looking!
Have a fun day!
~Hazel
Labels:
black,
brown,
button,
cursive,
decorative tape,
distress,
distress ink,
embossing,
embossing folder,
pink,
red,
ribbon,
scalloped,
silhouette cameo,
striped,
sunflower,
swirls,
thanks,
yellow
Tuesday, June 13, 2017
Iris Folding Car Card
Howdy,
The cook at my work has decided to
retire this year. When I asked her what her plans are for retirement,
she told me that she plans to do more travelling with her husband,
most likely to more casinos. I saw an iris folding car with suitcases
on Pinterest and decided that would fit well with a casino as the
background.
This is the result:
The card size is 5X7 inches. I cut the
car imagine out with my Silhouette Cameo and printed out the iris
folding design. I used purple and red paper for the suitcases, black
paper for the tires, gray paper that I inked up with distress ink for
the bumpers, and blue paper (her favorite color) for the whole of the
car. I cut little black strips to go over the suitcases and a black
rear windshield. The headlights are cut from red paper. I completed
the iris folding by following the pattern on the print out I
mentioned earlier. The road and brown sandy areas I cut by hand. I
printed out an image that I found on google for the background. I
wanted it to look as if the car is driving to Las Vegas. I cut the
image to fit around the car and pasted all of the pieces onto the
card. I used my Sketch Pens to write the Happy Retirement and my
Cameo to cut out the blue oval. I adhered the oval onto a piece of
foam to make it pop a little.
On the inside:
Good Luck! Written
with my Sketch pens on a white oval and then pasted onto a blue oval.
I am entering these
challenges:
Through the Craft Room Door - Anything Goes
Tiddly Inks Challenge - Make It Rectangle
Lemon Shortbread - Anything Goes
The Corrosive Challenge Blog - Anything Goes
Mixed Media Monthly - #27 Travel

Thanks for checking out my card!
Enjoy!
~Hazel
Saturday, April 22, 2017
Mountain Bike Card
Hello,
I have a co-worker that asked if I could make a birthday card for her son. Her parents want to get him a mountain bike for his birthday but want him to go pick it out with them so she thought they could give him a card with a mountain bike theme to tell him they are going together to get him a new bike.
Here's the card:
I made the background with distress inks and a sponge. I learned how to make the mountain scene by watching this video: How to Make a Background of Mountains. Pumice stone was used for the mountains and tumbled glass for the sky. I cut out a black frame and the pieces for the bike. I embossed the black bike pieces (except the tire) with a stripe embossing folder. I made the design on the tire with a gold marker. I attached all the bike pieces together, coiled the thin wire around the brads and attached them, and attached the bike to the background.
On the inside, I stamped a simple Happy Birthday.
I am entering these challenges with this card:
Southern Girls - About a Boy (For a boy)
Crafty Sentiments - Men/Boy (For a boy)
Seize the Birthday - Birthday (No Topping)
Cute Card Thursday - Birthdays
Thanks for looking!
~Hazel
I have a co-worker that asked if I could make a birthday card for her son. Her parents want to get him a mountain bike for his birthday but want him to go pick it out with them so she thought they could give him a card with a mountain bike theme to tell him they are going together to get him a new bike.
Here's the card:
I made the background with distress inks and a sponge. I learned how to make the mountain scene by watching this video: How to Make a Background of Mountains. Pumice stone was used for the mountains and tumbled glass for the sky. I cut out a black frame and the pieces for the bike. I embossed the black bike pieces (except the tire) with a stripe embossing folder. I made the design on the tire with a gold marker. I attached all the bike pieces together, coiled the thin wire around the brads and attached them, and attached the bike to the background.
On the inside, I stamped a simple Happy Birthday.
I am entering these challenges with this card:
Southern Girls - About a Boy (For a boy)
Crafty Sentiments - Men/Boy (For a boy)
Seize the Birthday - Birthday (No Topping)
Cute Card Thursday - Birthdays
Thanks for looking!
~Hazel
Labels:
black,
brads,
brown,
distress ink,
embossing folder,
gray,
mountain bike,
mountains,
pumice stone,
red,
sky,
tumbled glass,
wire
Sunday, December 4, 2016
Night Owl
Hello,
I needed a card for a co-worker who loves pumpkins and owls. I saw a cute card of owls sitting on a fence on Pinterest and decided to make something like that and put some pumpkins in front of the fence.
Here's the card:
I made the fence by making strips of light brown paper and rounding the edges. I then stamped each one with gathered twigs distress ink and the woodgrain backgorund stamp.
I used my Silhouette Cameo to cut out the owls and the pumpkins. I then put them together. I also cut out a scalloped circle to make the clouds in the background on the blue paper. I used a circle punch for the moon and white ink to make it look like the moon is glowing.
I attached all the layers and then created the inside:
I used Silhouette Sketch Pens for the words and cut out the orange and blue frames.
I will enter these challenges:
Robyn's Fetish Challenge Blog - Square or Rectangle Cards
Try It on Tuesday - Layer It Up
Die Cut Diva's Challenge Blog - Layers or Layer It
House of Cards Challenge Blog - Lots of Layers
Thank you for checking out my card!
Have a great day!
~ Hazel
I needed a card for a co-worker who loves pumpkins and owls. I saw a cute card of owls sitting on a fence on Pinterest and decided to make something like that and put some pumpkins in front of the fence.
Here's the card:
I made the fence by making strips of light brown paper and rounding the edges. I then stamped each one with gathered twigs distress ink and the woodgrain backgorund stamp.
I used my Silhouette Cameo to cut out the owls and the pumpkins. I then put them together. I also cut out a scalloped circle to make the clouds in the background on the blue paper. I used a circle punch for the moon and white ink to make it look like the moon is glowing.
I attached all the layers and then created the inside:
I used Silhouette Sketch Pens for the words and cut out the orange and blue frames.
I will enter these challenges:
Robyn's Fetish Challenge Blog - Square or Rectangle Cards
Try It on Tuesday - Layer It Up
Die Cut Diva's Challenge Blog - Layers or Layer It
House of Cards Challenge Blog - Lots of Layers
Thank you for checking out my card!
Have a great day!
~ Hazel
Labels:
black,
blue,
distress ink,
fence,
layers,
moon,
orange,
owls,
pumpkins,
silhouette cameo,
woodgrain stamp
Subscribe to:
Posts (Atom)